Umbraco 8 installation
- Umbraco
Installing Umbraco in your local environment is pretty easy. I’ve documented the steps I took to get the job done (in the example v8.0.2 is used):
- Create a visual studio solution
- Install Umbraco package in solution
- Create a database
- Follow the Umbraco Installation Wizard
Create Visual Studio solution
Go to File > New > Project and base the project on template ASP.NET Web Application (.NET Framework).
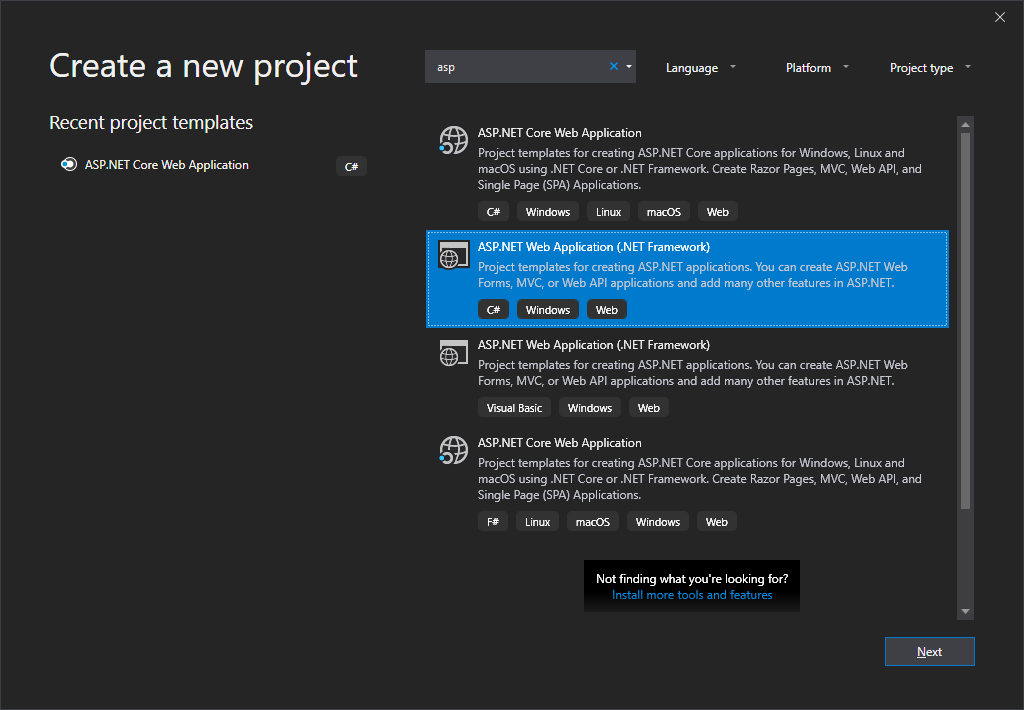 Click
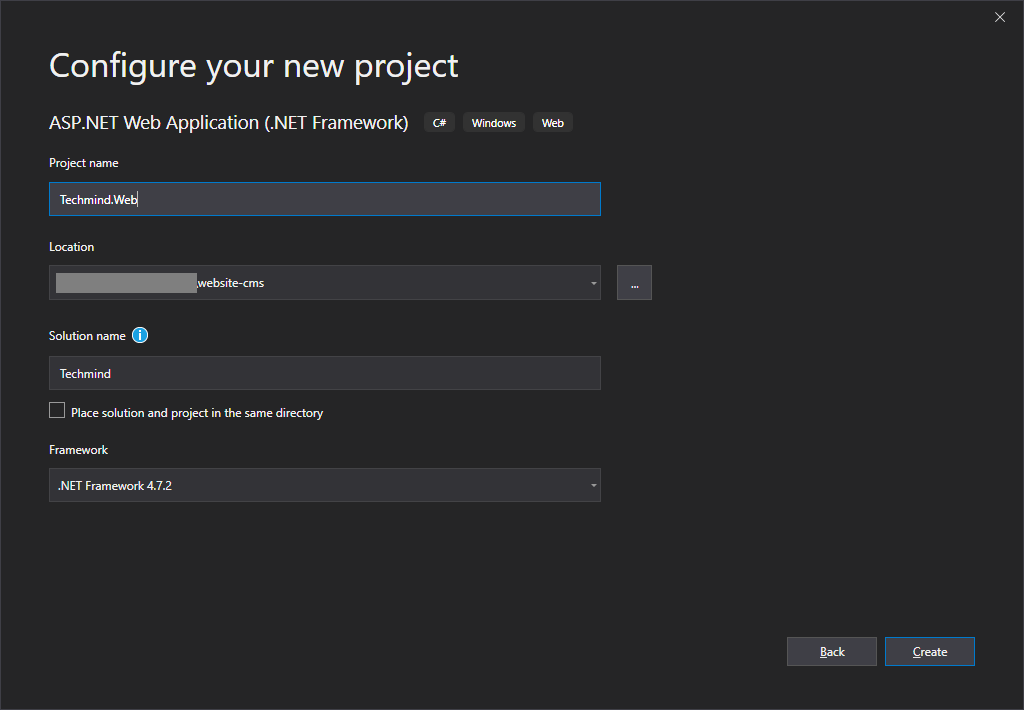
Click Next en fill all fields to configure the project. Umbraco 8 requires Framework version 4.7.2. I'm naming the project with a .Web suffix to get the project's structure and naming conventions I want in my solution. Click Create to go to the next dialog.
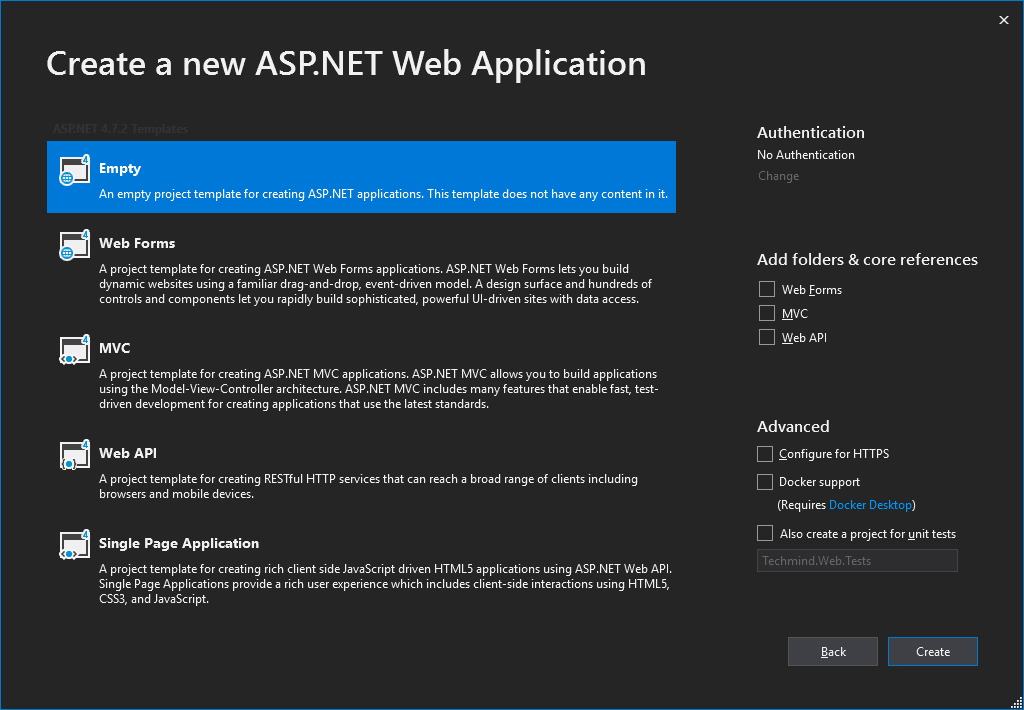
 Select the Empty template to create an empty MVC project.
Install the Umbraco package
There are 2 ways to install the package:
- NuGet package manager for solution
- Package Manager Console
NuGet package manager for solution
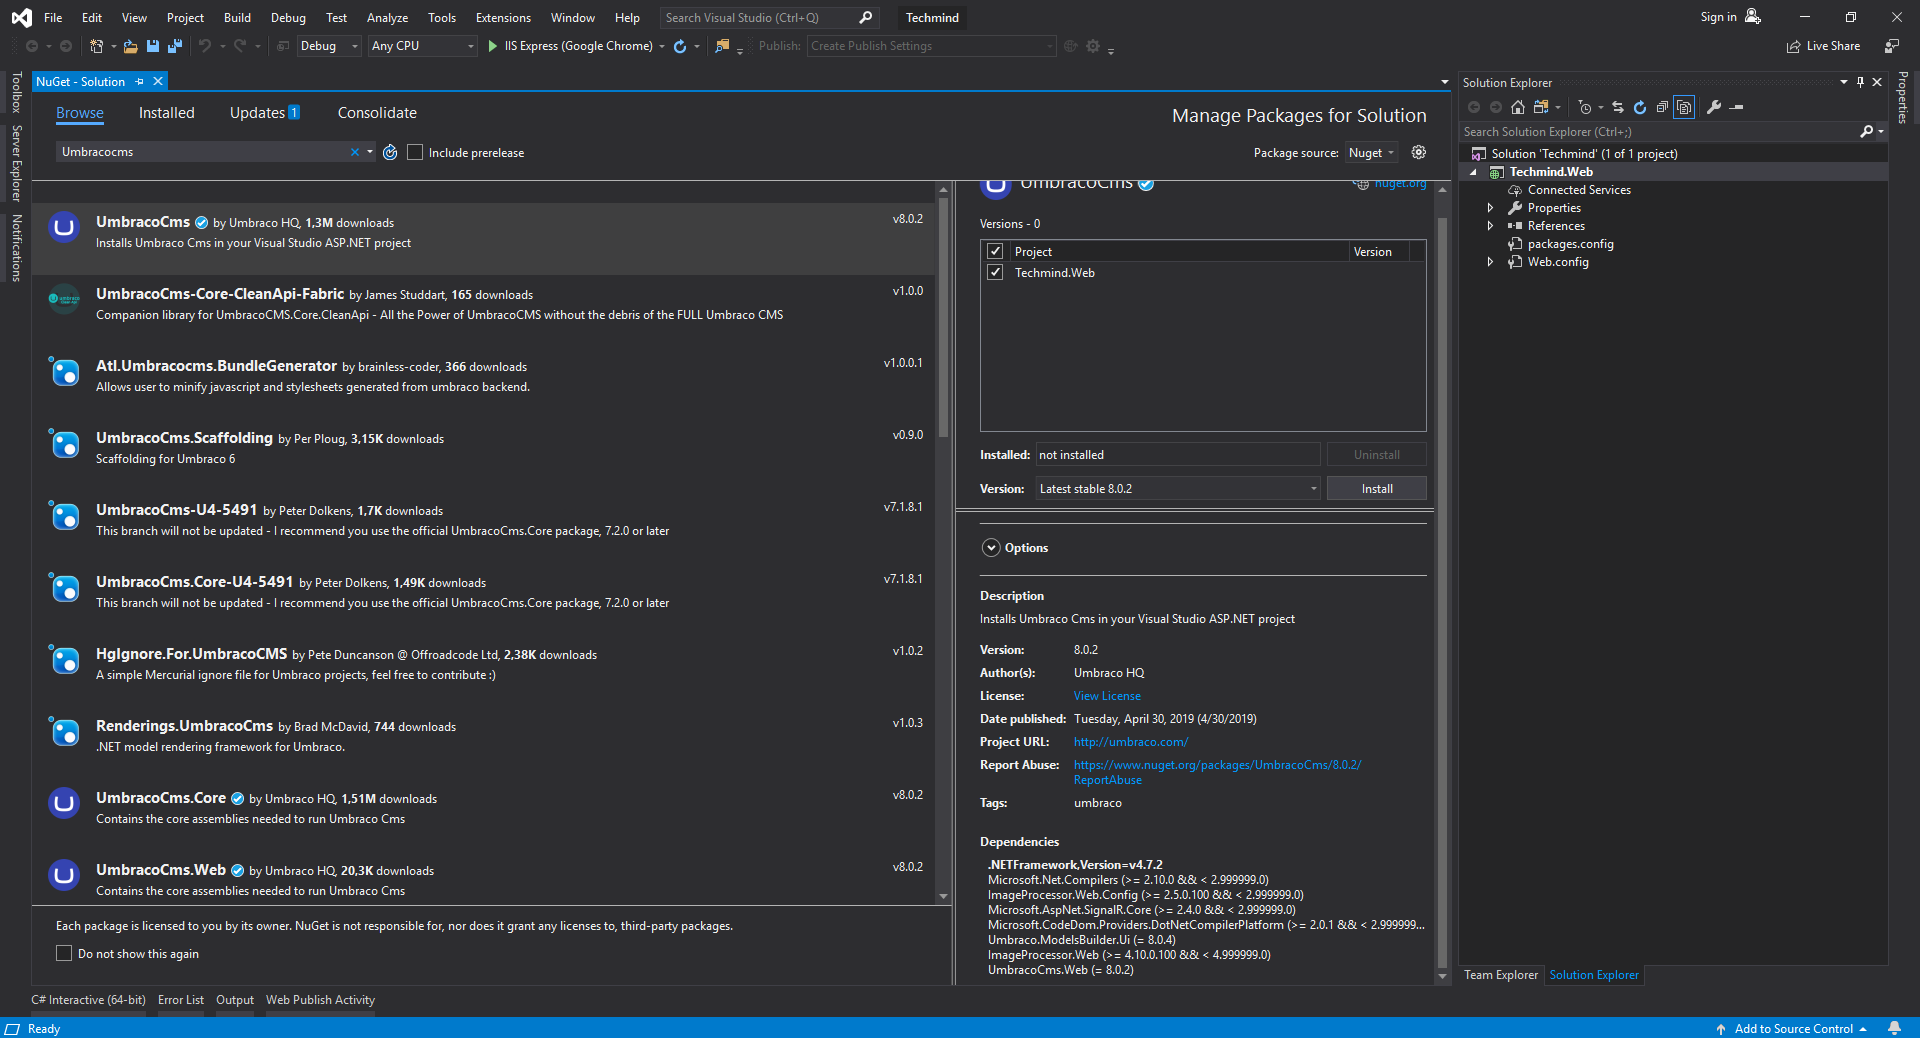
The latest release of Umbraco is available in the NuGet gallery. To install the Umbraco NuGet package open the view through Tools > NuGet Package Manager > NuGet package manager for Solution.
You can use the search function to find the package called UmbracoCMS. You'll also find the Umbraco CMS Core Binaries package, which will be included automatically when you choose Umbraco CMS. So make sure to pick Umbraco CMS (highlighted in the screenshot) and click Install.
NuGet will then download dependencies and will install all of Umbraco's files in your new solution.
Package Manager Console
You can do the exact same thing from the Package Manager Console, which is a bit quicker as you don't have to click through the menus and search.
Enable the console by going to Tools > NuGet Package Manager > Package Manager Console.
Then simply type Install-Package UmbracoCms to start installing the latest version of Umbraco.

Create a database
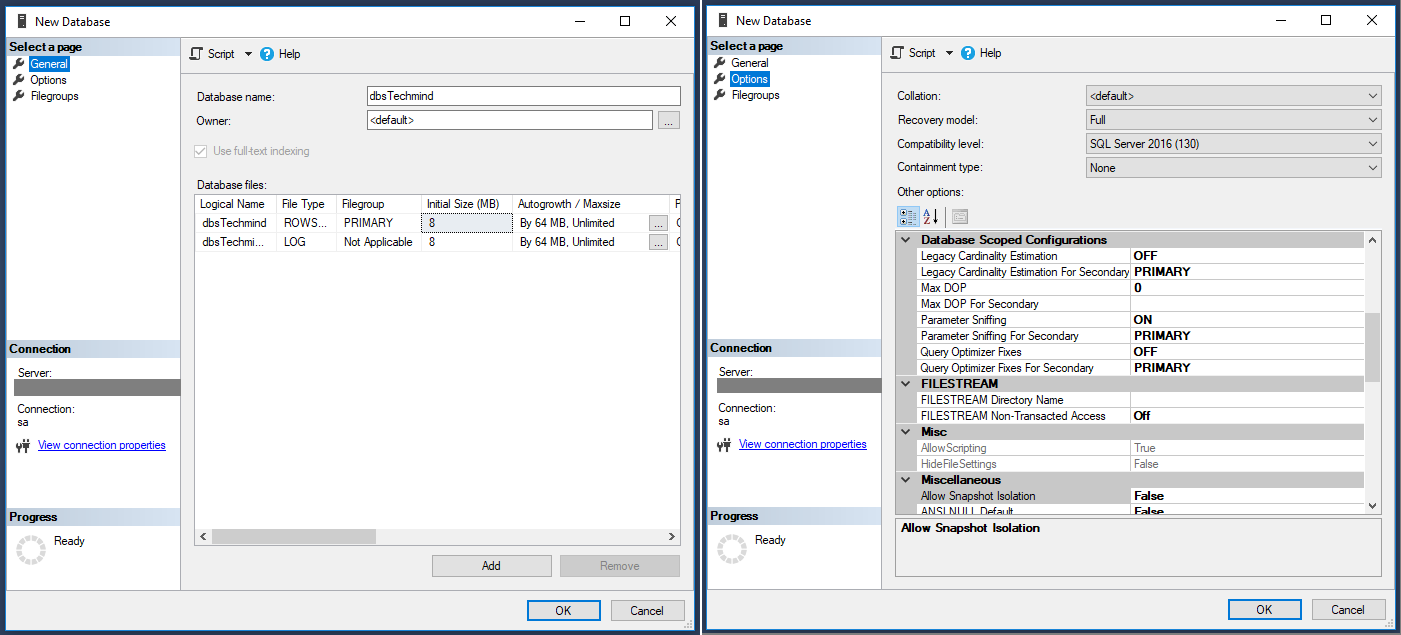
Go to your SQL environment (I'm using MS SQL Server Management Studio 18.1) and create a new database (right-click on Database node > New Database).
Fill in the name for the new database (dbsTechmind in my example) and click OK.
Create a new login user
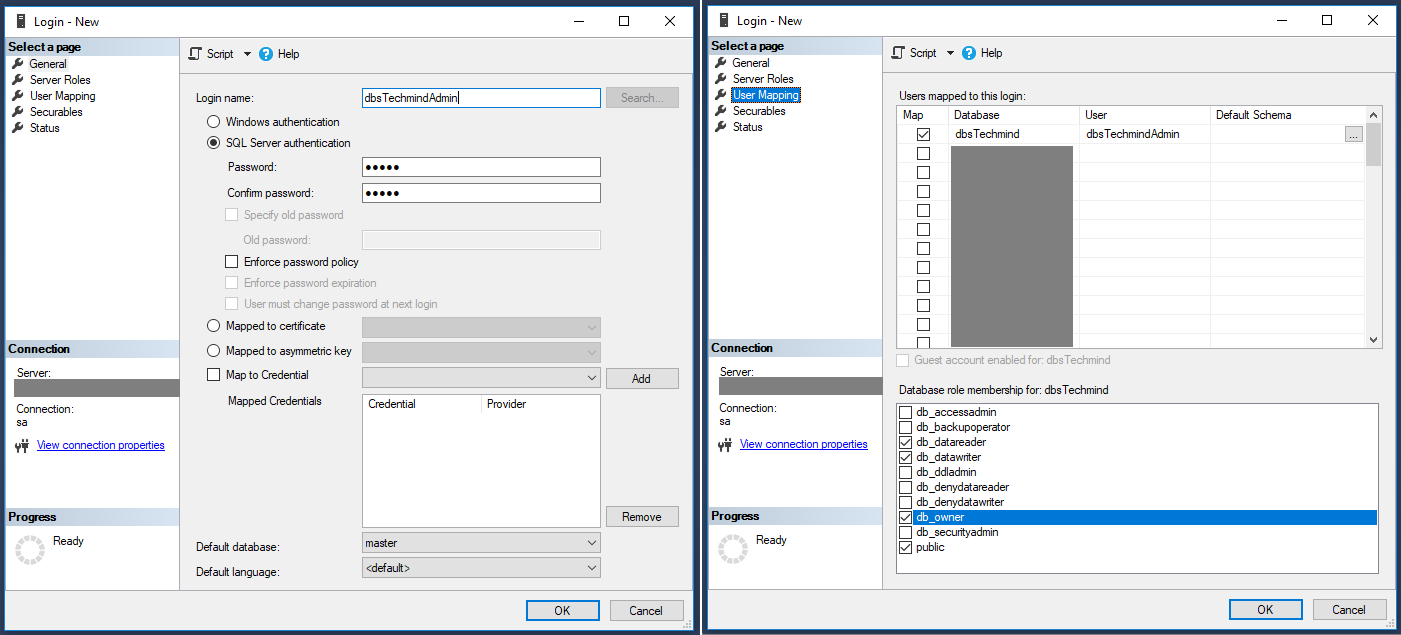
Create a new login (expand "Security" node, right-click on Login node > New Login). Under "General" fill in a login name, SQL Server authentication, and disable the password policy. Under "User Mapping" select the new database to assign the new login the correct roles. Assign the roles reader, writer, owner as shown in the screenshot.
Follow the Umbraco Installation Wizard
Now we have all parts ready to finish the setup for the site. You can now run the site like you would normally in Visual Studio (using ctrl + F5 to "Start without debugging"). When the site is started the "Umbraco Installation Wizard" is started en you can follow the instructions of the wizard.
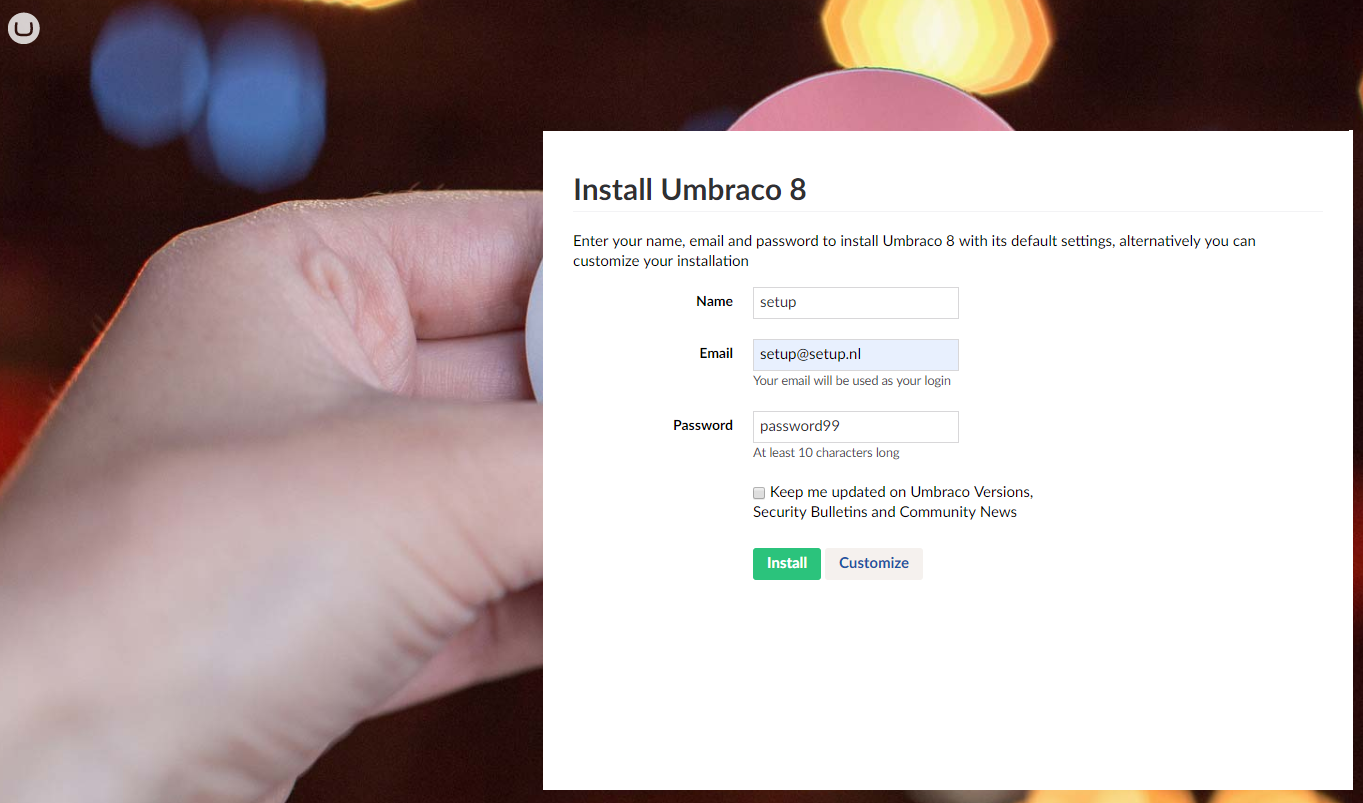 Fill in credentials to access the Umbraco backend. Click
 Customize.
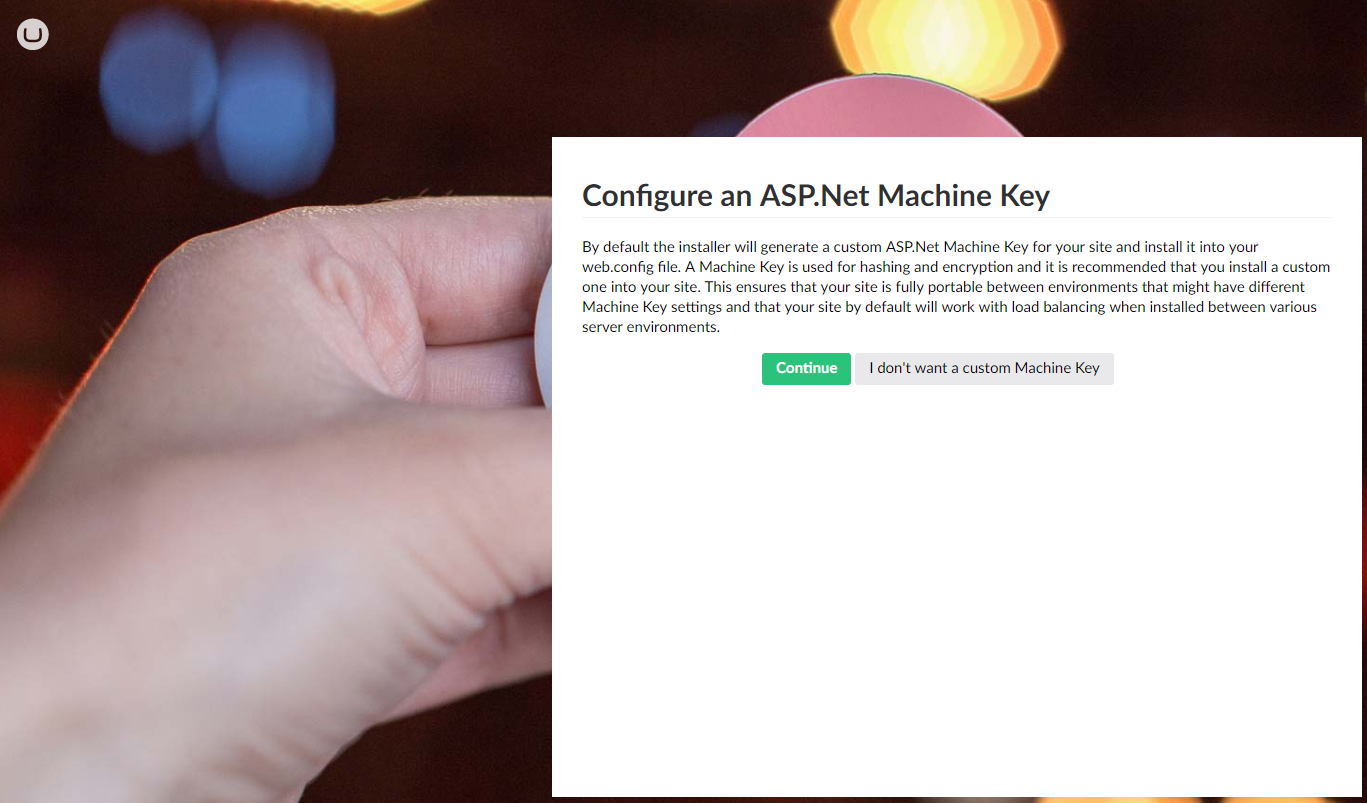
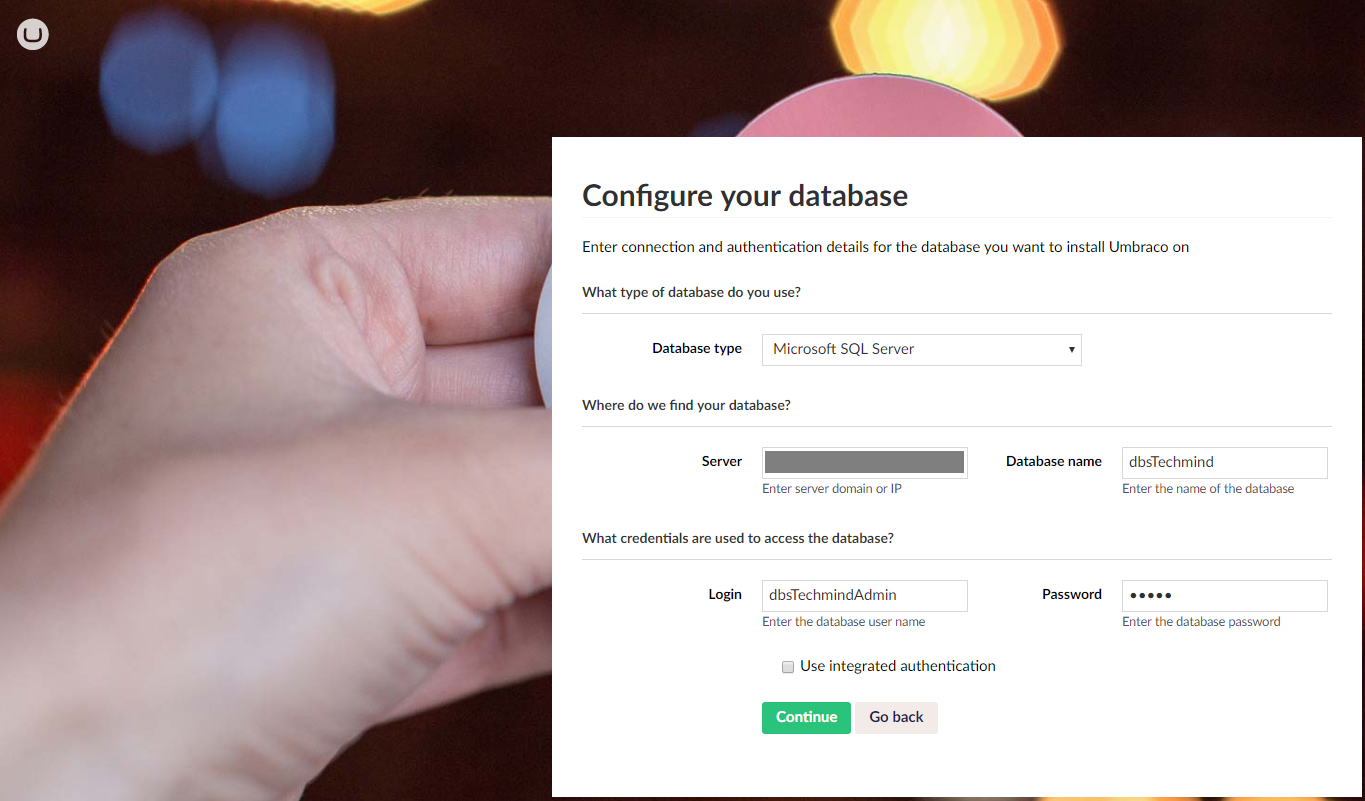
Fill in the database connection data.
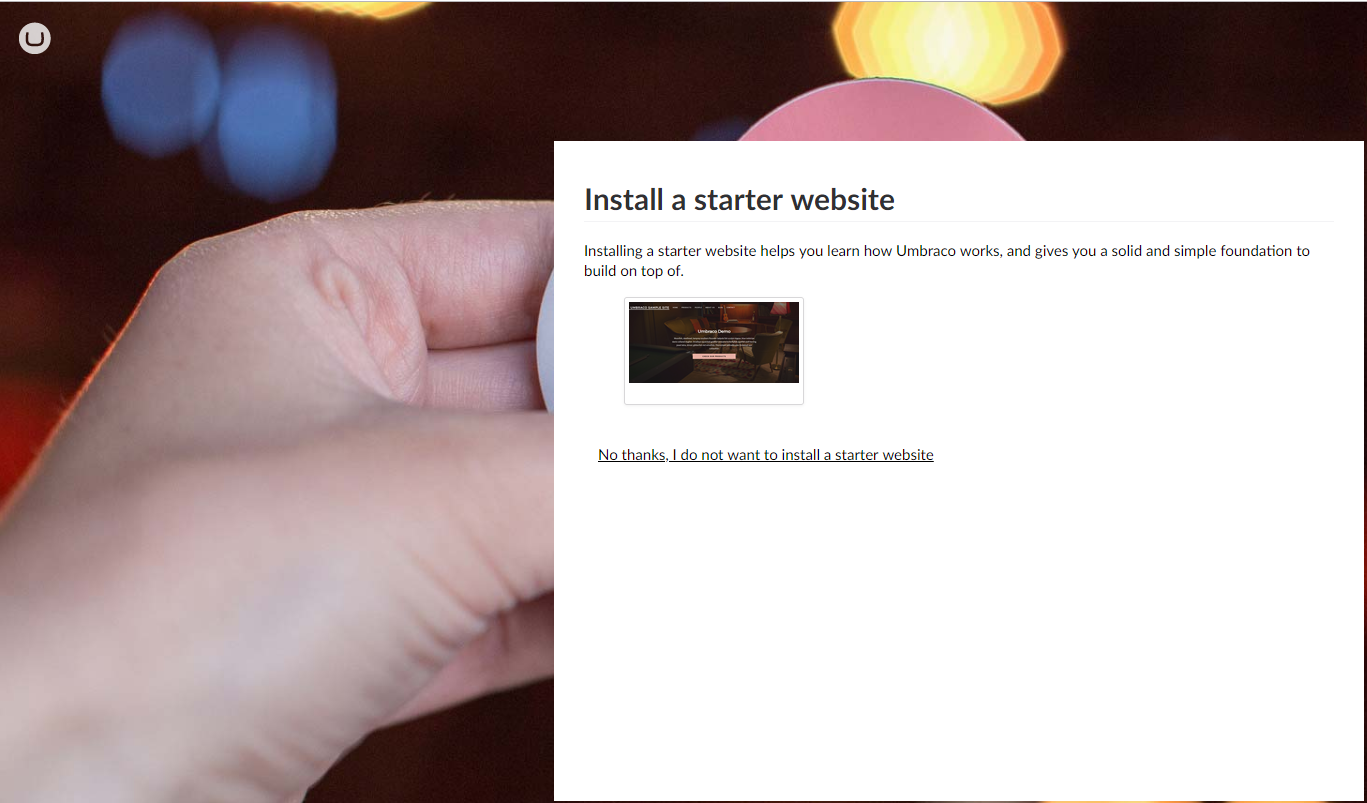
Optionally install a starter website or build your own site from scratch.
After the last wizard step, all the needed tasks to finish the setup of your site will be performed.
Optional configuration
- do the health check (
Settings > Health check) and adjust what you find to be incorrect (this will update settings in web.config or umbracoSettings.config) - decide if you want to change the settings for Models Builder (
Settings > Models Builder). These are default enabled with PureLive models. Adjust settings in web.config if you are not happy with the defaults. - create a new user that has been assigned the same groups as the setup-account (ie.
AdministratorsandSensitive data). Log in with this new user to check it is setup correctly and then delete the user that was created during setup from the Groups. When the site is only used for local development this isn't really necessary but in other environments, this prevents unforeseen setup-accounts to be left behind unnoticed since this account isn't visible in theUserssection normally (it's created with userId -1). In previous versions, it was possible to mark the user as disabled but that option seems to be gone in version 8 (unless done directly on the database but that's not a recommended practice ;-)).
